
Invoices & payments · 2 min read
Create and send an invoice
Bill a client directly or continue from an existing estimate.
Before you start
Know what you are billing for, who should receive the invoice, and when payment is due.
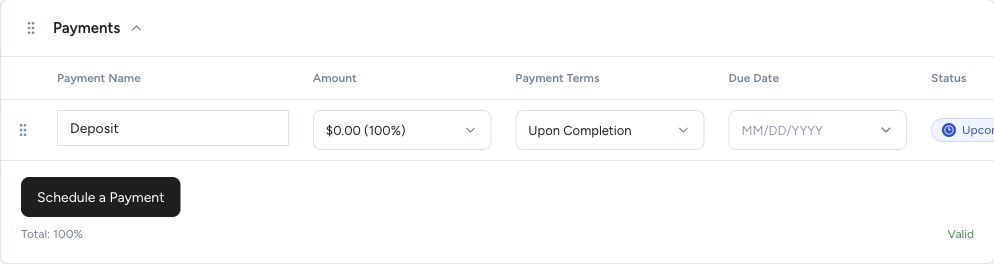
Payment schedule controls, shown on a new estimate.
- Set the amount or percentage for each installment.
- Choose the payment term and due date.
- Schedule a Payment adds another installment. Check the total below.
Step by step
Start the invoice
Choose New Invoice for direct billing, or convert the relevant estimate when you already have one.
Enter the billing details
Select the recipient and project, add the title and dates, and review every line item, quantity, price, and tax amount.
Review payment terms
Set the payment schedule and due dates. Check enabled online payment methods if you want the client to pay through the shared document.
Preview, send, and monitor
Check Preview, then use Send. Open the saved invoice to review payments, remaining balance, and available follow-up actions.
What happens next
The invoice is available in your invoice list. Its balance changes as payments or valid project credits are applied; sending it does not itself record money received.
Good to know
Use the existing linked invoice when continuing from an estimate. Creating a separate invoice for the same work can duplicate your billing.
Sign in to use this feature. Available actions depend on your workspace access.