
Projects · 2 min read
Create and organize a project
Give each job a home for its people, documents, and financial overview.
Before you start
Have a project name and the client or lead you want to associate with the job.
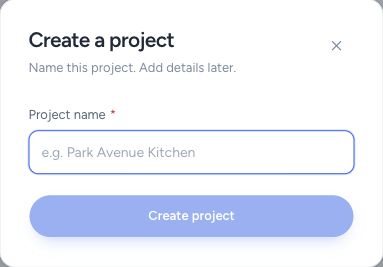
Create a project with a name. Add its contact, budget, and other details afterward.
- Use a project name you can recognize in document pickers.
- Create the project to open its detail page.
Step by step
Create the project
Choose Create Project on the Dashboard or the new-project action in Projects. Complete the required details and save.
Set the job details
Open the project and review its contact, status, dates, and planned budget where available. A linked lead can retain its linked client as well.
Connect the financial documents
Create or attach the appropriate estimates and invoices using the project’s document controls. Check that the document belongs to the intended client and job.
Review the overview
Use the project’s financial sections, change orders, credits, and due dates to understand the work. Add collaborators with the available project access controls.
What happens next
The project brings related records together. Financial summaries reflect the connected documents; a planned budget does not itself create an invoice.
Good to know
Payment milestones appear when schedules have due dates. This view is not a task scheduling or time-tracking system.
Sign in to use this feature. Available actions depend on your workspace access.